Grout Cleaning

Welcome to my Work History archive where you will find detailed examples of the cleaning and renovation of Grout carried out in Nottinghamshire

Cleaning and Renovating Grout

The top layer of grout is porous and can absorb grease, dirt and limescale. Spillages such as wine, lemonades or greasy substances will cause marks and patches in the joints in the floor. Grout between wall-tiles particularly in damp areas like bathrooms will become dirty and unattractive as a result of Mould, Mildew and Limescale.

Mould is one of the most unsightly problems, which usually starts off in the wettest area of the room, this could be the bottom of the shower or bath, then starts to spread and if left unchecked could cover a large area of the wall.

Another common issue we find is a problem known as Grout Haze or Grout Smearing where a thin layer of grout has been left to set on the surface of the tile. Once grout has set it is difficult to remove.

Discolouration of grout joints in bath or shower areas due to continued use of acid formulated shampoos and soaps. This causes yellow orange and pink stains to the grout over even a short period of time. Whilst Grout Joints can be cleaned, badly stained grout may need to be re-coloured.

Protecting your grout in advance with a sealer will prevent most of these issues and although relatively unknown in the UK, protection awareness is growing. Sealing forms an invisible barrier between the grout and the surface, this will then protect your investment for years to come.

We have solutions for all the problems listed above and below you will find detailed examples of work we have carried out in the past to resolve many of these issues. It should give you some idea of what’s involved and what can be achieved with the right techniques and products.


Porcelain Floor Tile and Grout After Renovation Beeston

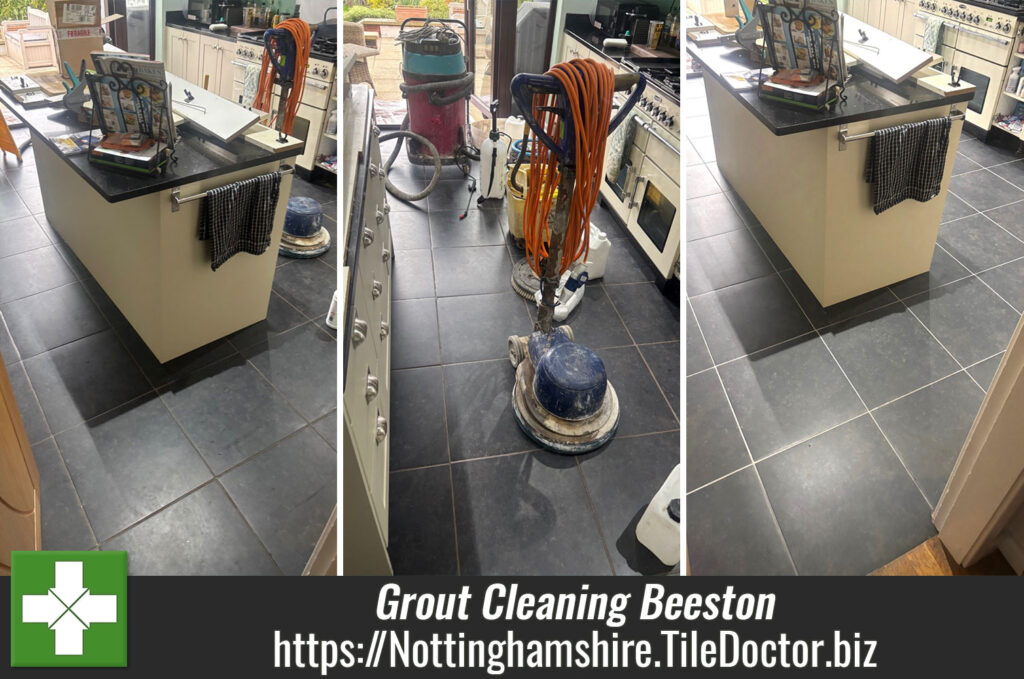
20-Year-Old Porcelain Floor & Grouting Deep Clean in Beeston

Here we have a 20-year-old Porcelain tiled kitchen floor at a property in Beeston where I was asked to carry out a deep clean. The main issue was the Grout which had basically turned from what was a nice clean white to a grubby dark grey with accumulated dirt. The porcelain tiles were matt with an unusual, speckled pattern.

Porcelain tiles are generally easy to keep clean due to being impervious to water. The trouble is however that the dirt from the tile gets washed into the grout line during cleaning where it gets stuck in the cementitious grout, eventually causing it to discolour.
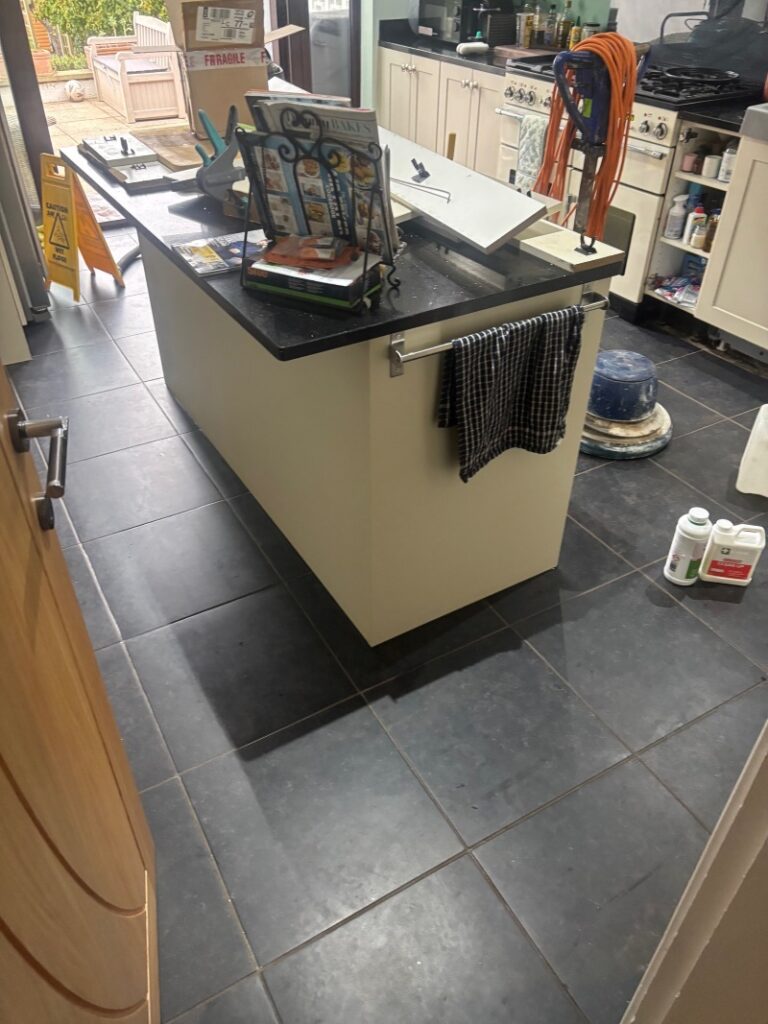
Porcelain Floor Tile and Grout Before Cleaning Beeston

I quoted for cleaning the tiles and giving the grout a deep clean to remove the dirt and restore its fresh white colour. Happy to have found a solution to their grout issues my quote was accepted and a date booked in the diary.

Cleaning a Porcelain Tiled Kitchen

On my return I decided it would make sense to focus on the discoloured grout first and review the tiles second. So, to help break down the soiling that had built along the grout line I started with an application of Tile Doctor Pro-Clean diluted 1:4 with water. This product is a strong alkaline degreaser that’s safe to use on all types of tiles and grout.

The solution was allowed to soak in for fifteen minutes prior to scrubbing with a rotary floor machine fitted with a nylon scrub brush. The brush works well on grout as the bristles get into the recesses of the grout lines. The brush was run over the grout lines first to get them as clean as possible and then moved over the surface of the porcelain tiles.
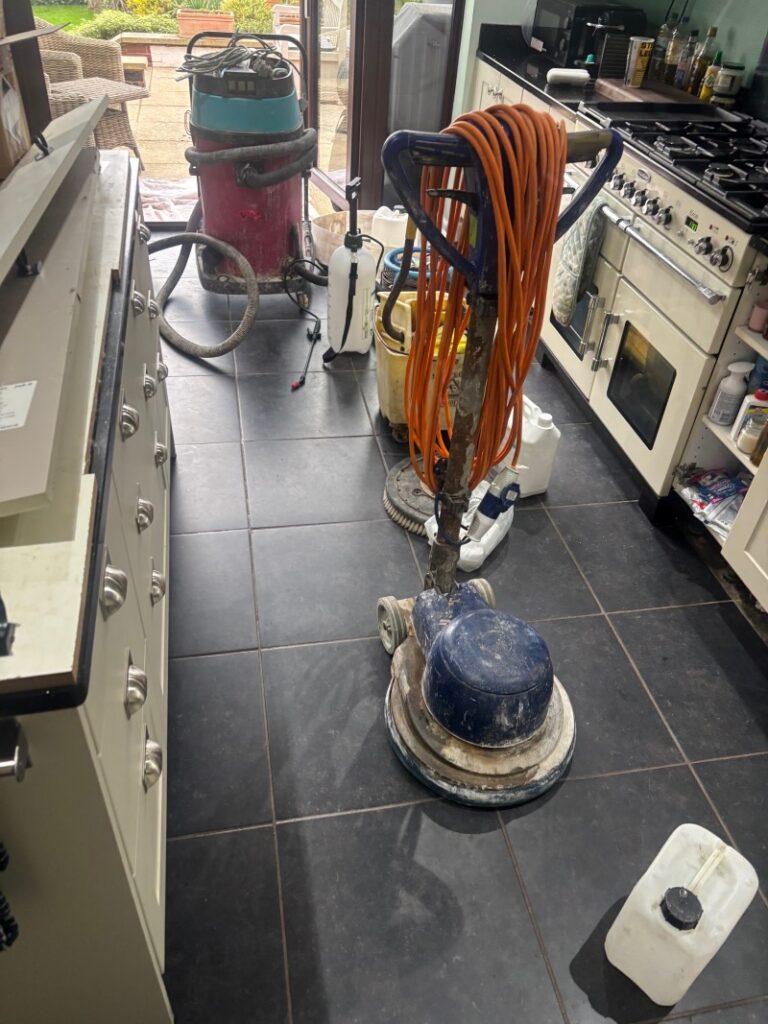
Porcelain Floor Tile and Grout During Cleaning Beeston

Once done the resulting slurry was removed with a wet vacuum and the grout inspected, any stubborn staining was then re-treated with more Tile Doctor Pro-Clean and scrubbed by hand.

Sealing a Porcelain Tiled Kitchen

The next step was to give the floor an acid wash to further clean up the tile and grout and to neutralise the pH level of the floor following cleaning with Tile Doctor Pro-Clean. To do this I used Tile Doctor Grout Clean-Up using a 1:10 dilution with water. It was applied to the tile & grouting and then brushed in before being rinsed off with water and extracted with the wet vacuum.
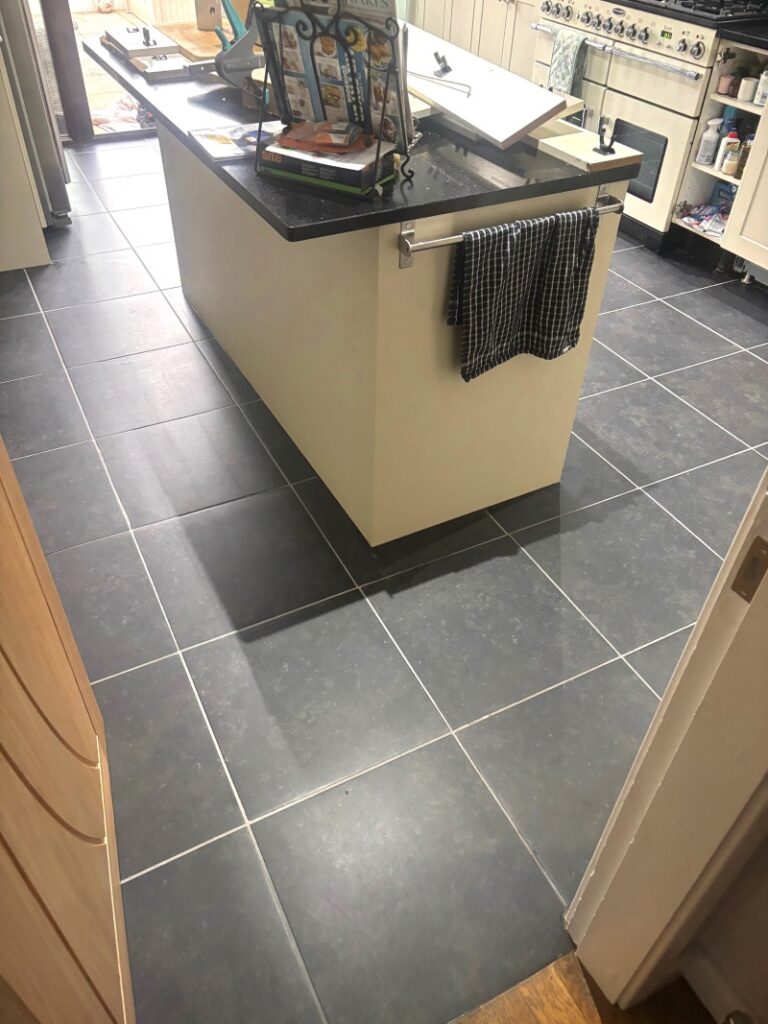
Porcelain Floor Tile and Grout After Cleaning Beeston

Finally, the floor was given a thorough rinse with fresh water and then dried with the wet vacuum. To speed up the drying times a floor fan was deployed which ensured the floor was dry before I left allowing the client could see how effective the work had been. There is no need to apply a sealer as the tiles are sealed during production.
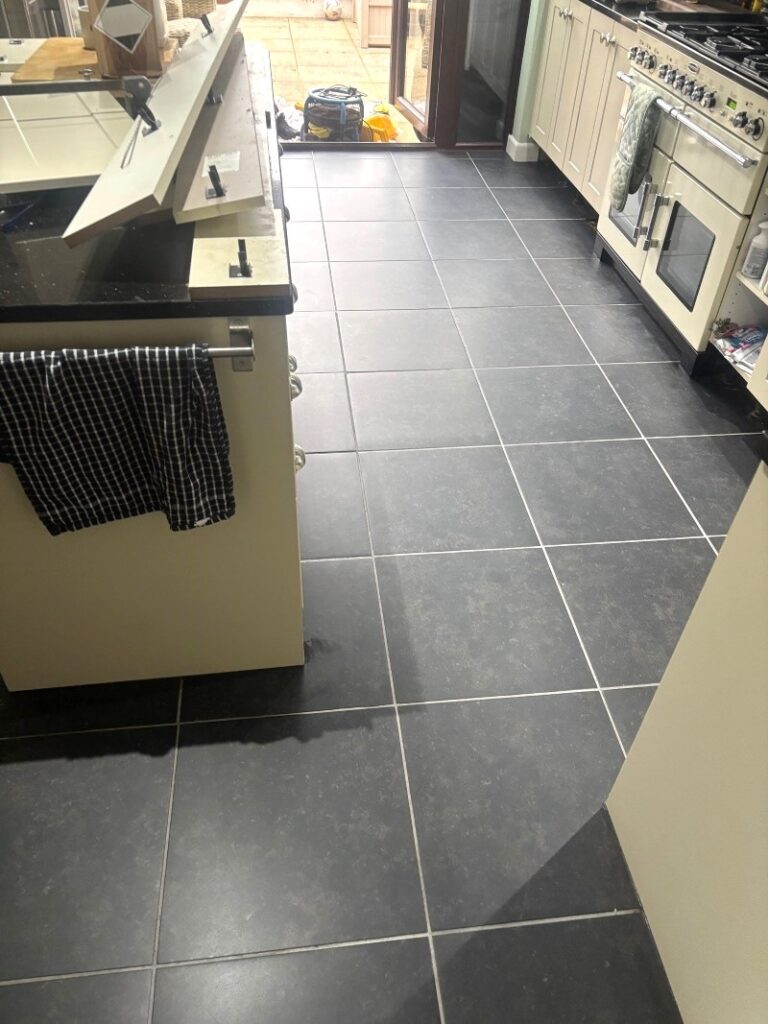
Porcelain Floor Tile and Grout After Cleaning Beeston


Professional Renovation of a Porcelain Tiled Kitchen in Nottinghamshire

20-Year-Old Porcelain Floor & Grouting Deep Clean in Beeston Read More »

Honed Limestone Tiled Floor in Bingham Before and After Cleaning

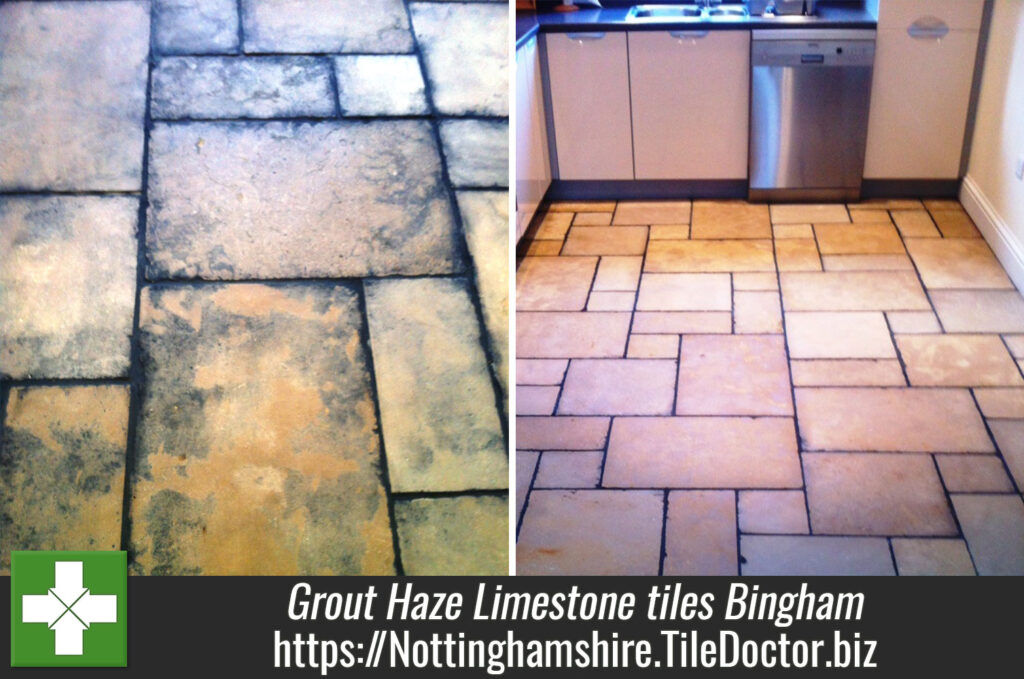
Grout Haze on honed Limestone tiles in Bingham

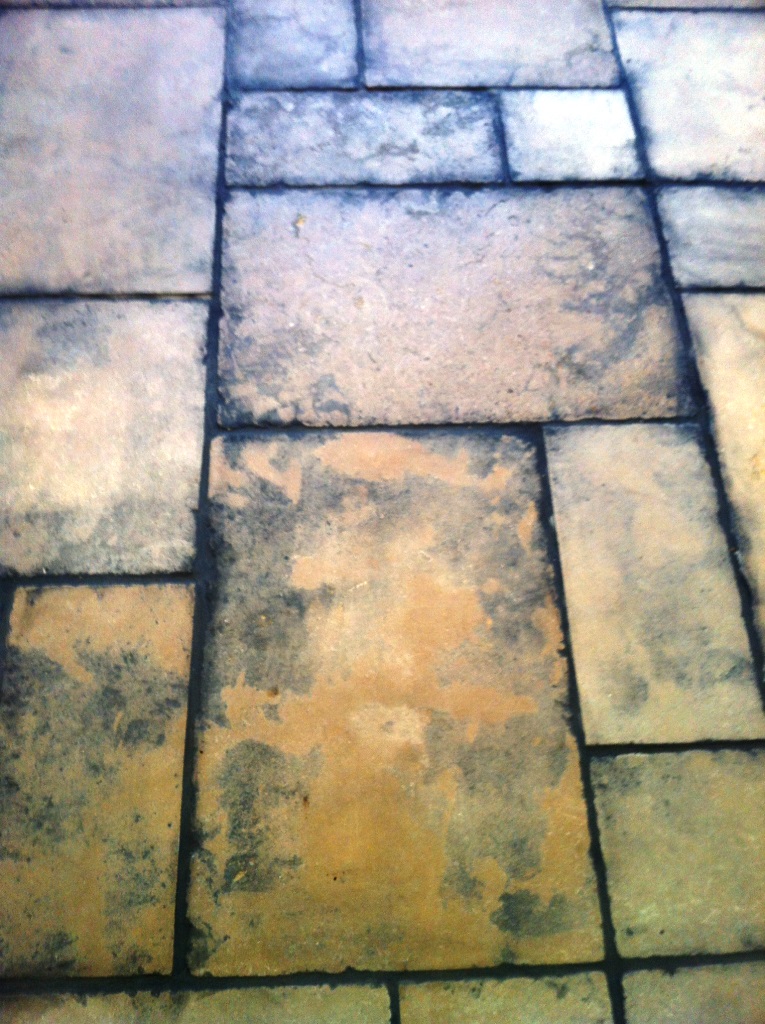
The photographs below are of a honed Limestone floor in the kitchen/diner of a house in Bingham, Nottinghamshire which had been contaminated with heavy grout haze from dark grout that had penetrated into the surface of the natural stone tiles due to the face that they had not been properly sealed prior to grouting. The customer had asked the tiler to rectify the issue, but without the proper equipment and knowledge he was unable make any impact on the problem and so we got the call.

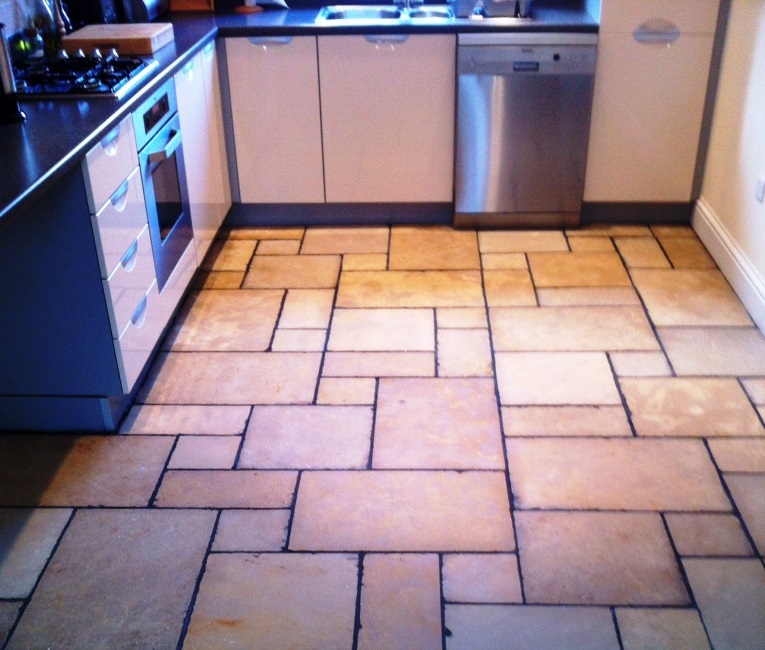
Honed Limestone Tiled Floor in Bingham Before Cleaning Honed Limestone Tiled Floor in Bingham Before Cleaning

Milling a Limestone Tiled Floor

Before starting we cleared any furniture from the area and masked skirting boards and kitchen units. We then set about rectifying the problem with a set of Milling Pads that which remove a layer off the surface of the stone; this also has the added advantage of removing any lippage issues between the tiles.

Milling natural stone flooring is a controlled process using water, and specially manufactured diamond milling pads. We have a special low speed rotary floor machine for this purpose which is weighted with 65kg to ensure the right level of tension on the floor.

A rotary hand polisher and oscillating multi-tool fitted with smaller milling pads were used to remove the grout haze from the wall edges and wall corners of the tiled kitchen. Once satisfied the contamination had been removed, then the floor was thoroughly rinsed with fresh water to remove the resulting slurry created by the milling process and then left to dry off overnight.

Sealing the Limestone Floor

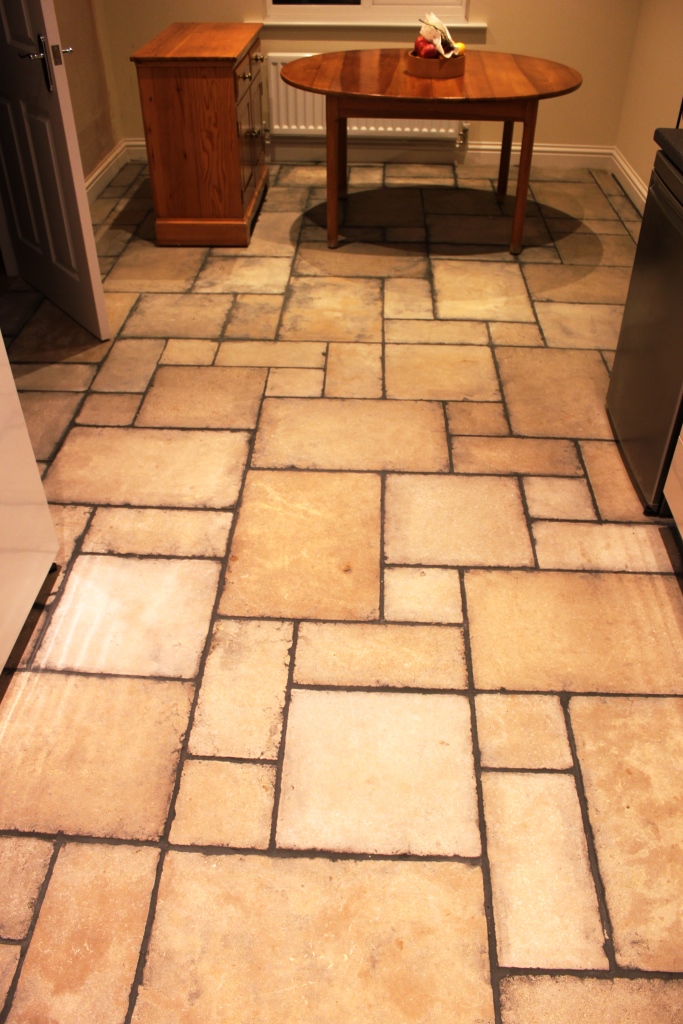
The next morning I arrived to find the floor had dried out enough for me to seal it which was done using a couple of coats of Tile Doctor Colour Grow which is an advanced sealer from the Tile Doctor range that impregnates into the stone and lifts the natural colours in the Limestone floor as well as providing stain protection from both water and oils spills. Once the sealer had dried I then finished it all off with a quick buff using a white buffing pad.

Honed Limestone Tiled Floor in Bingham After Cleaning
After an hour of sealing the floor can be walked on, but impregnating sealers take up to 48 hours to fully care so care should be taken before the floor is subjected to normal use. For maintenance I recommended regular cleaning with a damp mop using a diluted solution (1:100) of Tile Doctors Stone Soap which is PH neutral and won’t affect the sealer.

Grout Haze Removal on Limestone Floor in Bingham

Grout Haze on honed Limestone tiles in Bingham Read More »

=================================

Nottinghamshire Tile Doctor

================================= Read More »

Scroll to Top